I really intended to play with gears for this project. It has been an obsession of mine for a while that I never quite have the time to explore. Unfortunately, this was another missed opportunity, BUT I am happy with this little project as well. Even though I started searching for parts early, I did not find quite what I wanted in time. That said, I thought I could make a crank shaft out of parts from Tinkersphere. BUT when I went to Tinkersphere, their gears were a little small to create the movement I wanted.
With motors I know all of the parts need to fit exactly. I had paper so I know even if I used a small motor, the torque wouldn’t need to be too strong. And If I had a plastic gear, I could drill into it easily and screw in a popsicle stick or use a pipe cleaner — basically all easily and light stuff to make a paper creature dance.
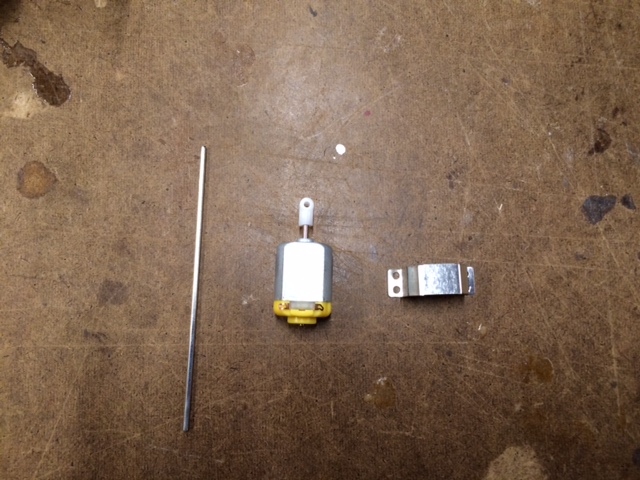
They did have the little plastic attachment that allowed me to add a 2mm shaft — which they also had — to the end of the motor. This made me think I could make anything from a Chinese dragon fly in circles with a tail following or planet and moon orbit so I decided to go with these parts.
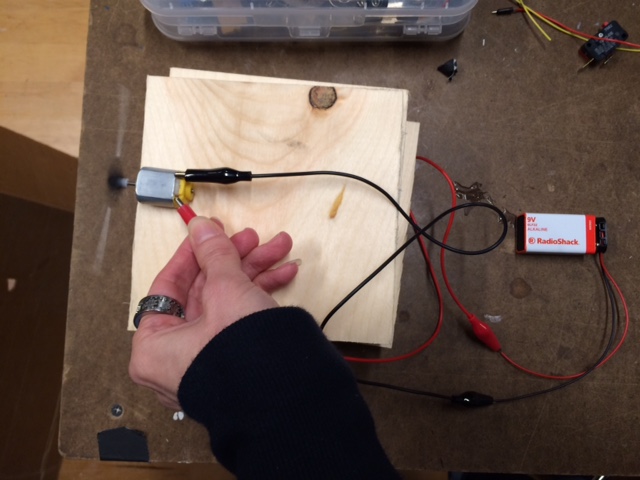
Since I never want to spend money, my first thought is always to test the parts with my easy power supplies. I happen to have a 9 volt lying around so it’s the first test I did. The motor only needed 6 volts so I knew this would be overkill, but I was curious how fast it would turn. I also made a power supply for Basic Analog Circuits so I figured I could step down the power and find the best amount before I finalized it, but I found the ramped up speed interesting. Even though I had put on the shaft with the long end in one direction, it instantly reminded me of a propeller from an old fashion plane. I quickly moved the shaft with tape and centered it. Yup, my mind had been made up. No more character design. I decided to make a little plane!
But what could I use for the body? I was between cardboard and wood. The overachiever in me longed for the wood. I could sculpt it and paint it, but the cardboard was right behind me. Even if I eventually made it out of wood, I was not going to get my fantasy result by Thursday so I felt I should take a crack at it our of cardboard. If I don’t like the results, I could try something else.
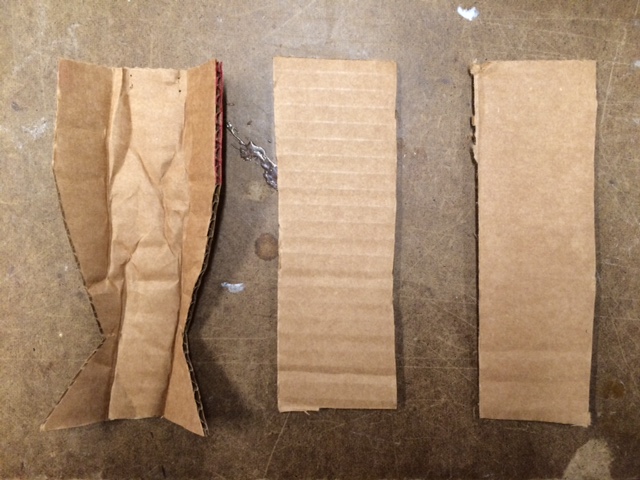
As you can see from the scrunching on the left above, I wanted to make sure of two things. One, it could shape and hold around the motor. And two, I could poke holes without destroying it to mount the motor. I decided that screws into cardboard would be overkill, but our cheap wire is rather hard, but malleable. It could be used as a good mount into cardboard.

The wire worked well to mount the motor, but as you can also see, I also soldered on wires. Usually I think that attaching the nice, softer, threaded wires is better. The red one is one of those. I cut off the ends, stripped it and attached it. However, the inner, copper thread turned out to be very soft to attach to a motor. The one I attached where the blue one is above, broke up pretty easily. The solder didn’t give, but the copper wire at the base did. The blue wire above is the same as the yellow wire I used to mount the motor — it’s the hard, single wire we have in the shop. Turned out for this project since it needed to be a bit more durable, it was the better choice.
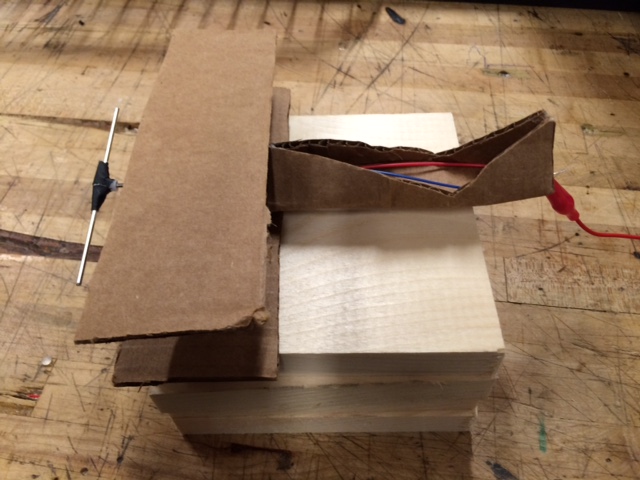
The plane was easy to finish with just a bit of hot glue, but it almost can fly with this motor, a 9 volt and cardboard. Since I’m far from figuring out the remote controller if I did redesign to get it in the air, for now I needed to mount it so it could not move. AND the propellers need to be off set so they can turn efficiently. The first thing I though of was a wooden ramp. I asked John if the best way would be the Miter saw, BUT the piece was very small. John didn’t want me to do it myself because it looked a bit risky so he insisted on doing it for me.

It gave me a little more understanding of the miter saw! Then I decided to make the ramp out of the two pieces glued together. It would require a bit more sanding than I could do by hand so Dhruv demonstrated the sanding machine once more for me.
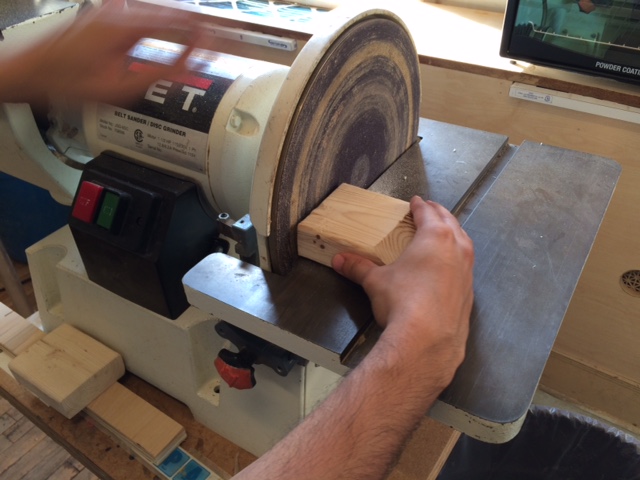
I took over from there. Turns out the sander is not all that scary at all and I’m glad I got to try it out, but before I took the wood base all the way, I realized there might be a metal rod on the junk shelf. And there was!
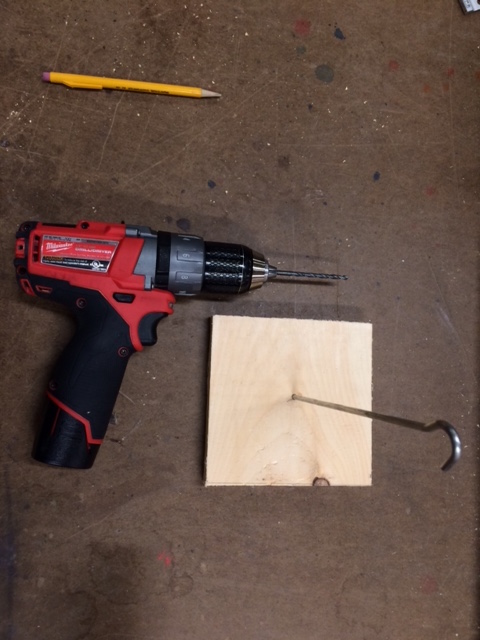
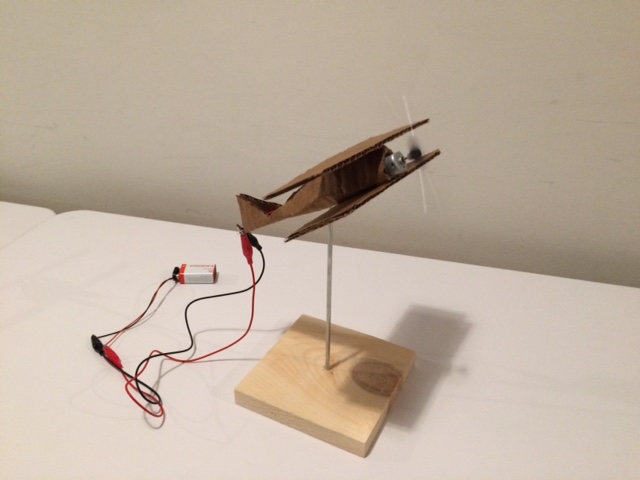
A plane floating in air would be even better than one mounted directly to the wood — even at an angle. And I had a bit of wood left — already cut from my dice project. After doing a few tests with different sized drill bits, measuring with a ruler and carefully marking with wood, I made the new incarnation of the stand.
Then I drilled a hole in the bottom of the cardboard with the same drill bit. The top hook slipped in pretty easily and when I liked the angle, I used a hot glue gun to seal the cardboard in place.
The one thing I did not clean up was the power supply. I have not decided that this is going to stay as is. Part of me wants to make a much more polished version so I decided not to solder in a switch and cables to the battery. For now it is only a prototype and would stay slightly unfinished. I guess I feel like I spend so much on batteries and switches, I need to feel like there will be the need for more permanence before I solder that in one more time! And here’s a video of the final project: