I spent a long time pondering this one. I had fantasies of polished wood and brass, ideas for mobiles and walls of light, but I spent a lot of time this summer building wearables for The Mill so it was not completely surprising when a copper and leather cuff sprung to mind. This lead to many hours traipsing all over the garment district to find the parts, but it was a rather interesting adventure.
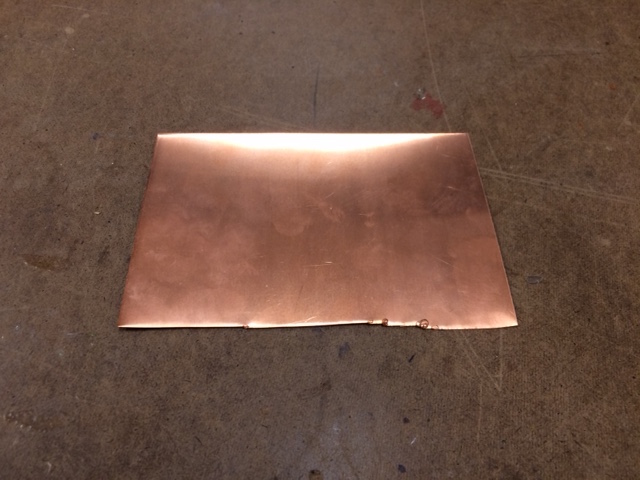 The copper was actually the easiest to find. I went to Metalliferous and had some awesome conversations with jewelry makers. It is definitely a spot I will go back to, but it also didn’t prepare me for how hard it would be to find the leather.
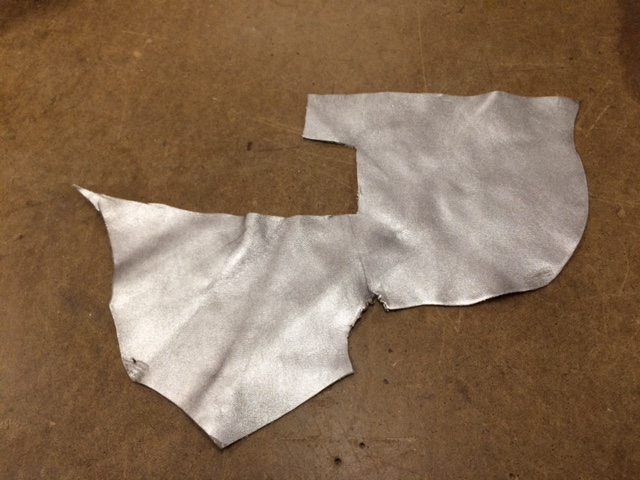
I went to three different stores before I found one with enough different options of scraps to sell. Leather Suede Skins turns out to be the place! The woman who works there was super sweet and helped me search through different scraps of leather. I also learned the I’m not the only one who loves the laser cutter. There were lots of leather options that were both cut and engraved with intricate patterns on laser cutters. She told me a lot about leather options and sold me the scrap piece of silver leather for only $2! She even threw in a little soft measuring tape for my any future wearables. It was a great experience. I forgot to take the picture before I cut into it a bit, but here’s part of the leather.
My final stop in my endless day of shopping was to purchase snaps at a trim store. I lived at Pacific Trim this summer and even checked first to see if they had leather ends since I was around there, but I waited to buy my snaps at Star Snaps — I thought they might sell the snap tool. Unfortunately they did not, but I bought 16mm ones because I know the tool I bought for The Mill worked with that size.
My first step when building was making sure I understood how to use the rivet gun. I stopped in to see Ben who showed me and recommended washers if I used it with the leather. Sounded like a good idea so I ran out to purchase a few, but the smallest ones I found weren’t quite as small as I hoped they would be. With limited time, I decided I should test them and see.
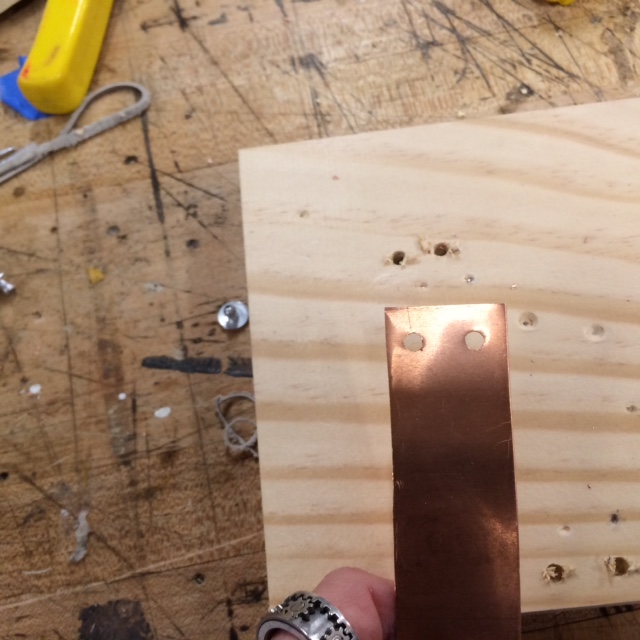
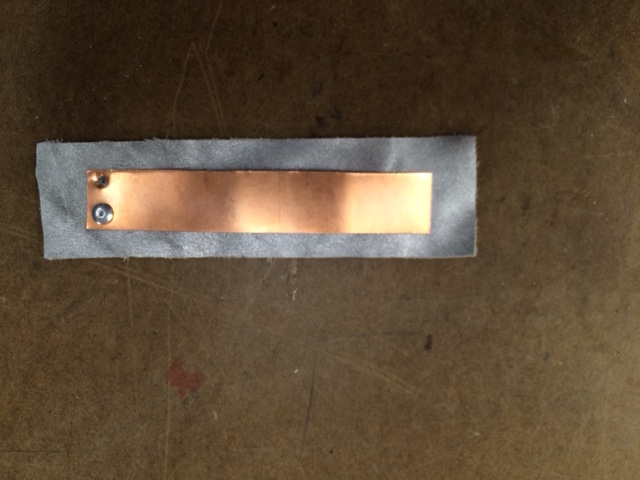
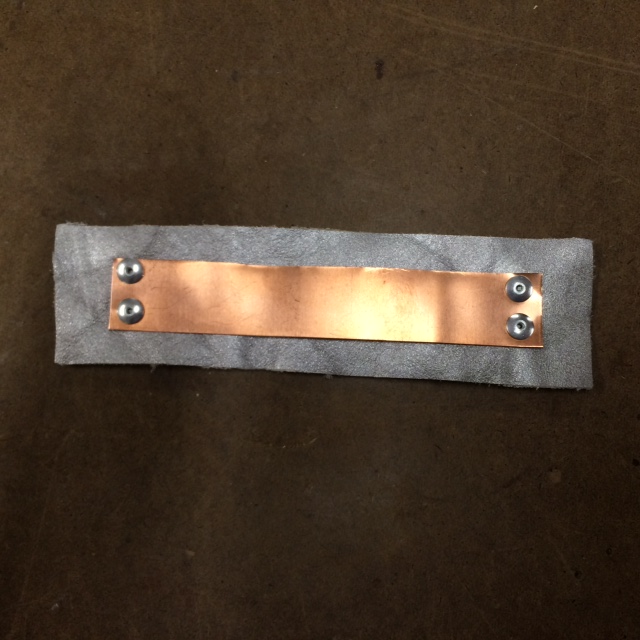
 There are a few steps I should back track to before I explain this image, but this was after I cut a part of copper and drilled some holes to be able to test it out. I learned a few things rather quickly. One, the washers were still too big, but the rivet would not sit comfortably on my skin using only one piece of leather. Two, the look was not quite going to be what I had in mind. To complete my design exactly as it was in my head, I would need smaller rivets. This I logged away for prototype number two at a later date, but for this project this I decided I just needed a slight change in my design.
I realized I had enough leather to do two layers between the rivet sandwich. One that is the nice visual for the cuff and a second that just gives a little more padding for the rivet. Two I decided I would only do two rivets on each side of the bracelet. It would also be attractive, but a slightly different design. I felt that doing as many rivets as I initially imagined would cover up too much of the copper. Let me go through more of the process.
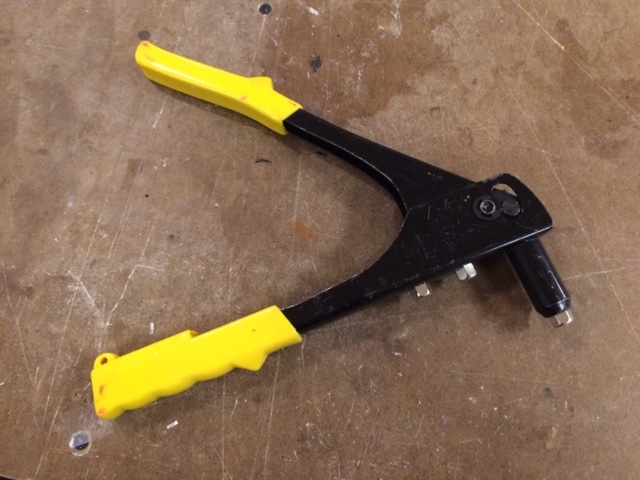
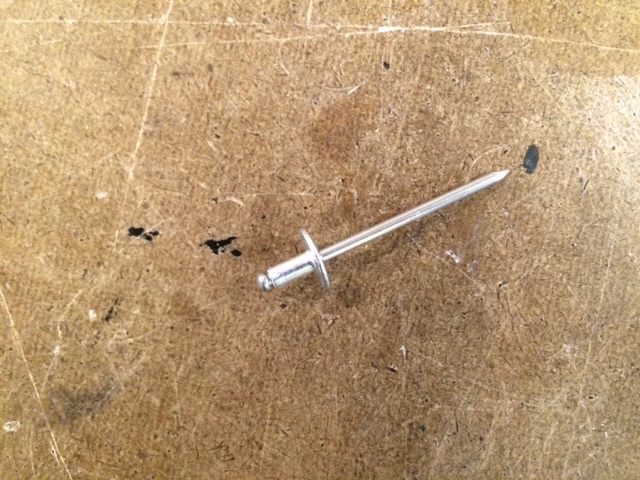
So here’s a rivet gun and the size rivet I ended up using. It was the smallest one I could find in the shop. Although larger than initially planned, it worked pretty well.
But first I had to cut the copper and the leather to the right size. I measure with my beautiful new soft measuring tape and I cut the copper with metal shears. I had also chatted with a few jewelry makers at Metalliferous who told me I could even cut coper that thin with regular scissors! The copper wasn’t two difficult. Although I would love to learn how to better sculpt and sand the metal in the future, I got it to a workable place pretty easily. Next, I used a nice pair of scissors from the soft lab for the leather, but I found it wasn’t the best choice. The first piece I cut ended up getting cut down slightly further and used as the buffer underneath. My second try with the leather was more like what I did cutting the acrylic last week. I measured precisely and then taped a metal ruler over the leather. With my sharp straight edge I cut the leather. This led to a much better looking cuff.
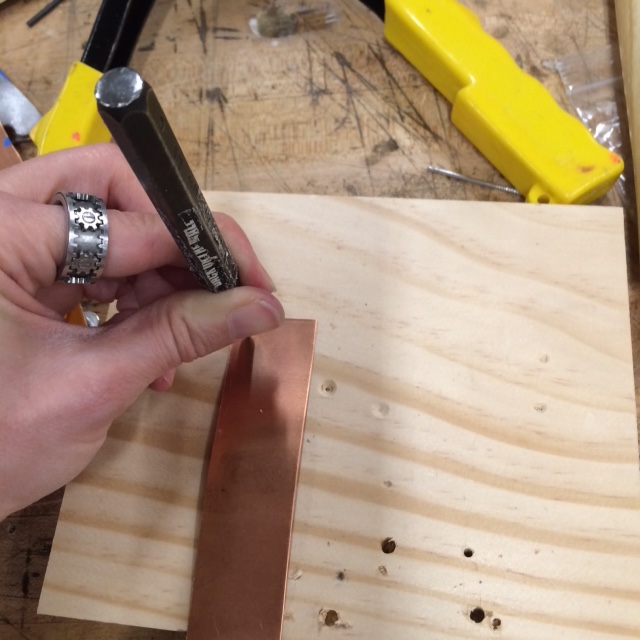 Before I could rivet the copper and leather together, I needed to make holes that were slightly bigger than the rivets. This took a bit of digging within the shop to find the right size drill bit. AND before I could drill the hole, I needed to make a small divot in the copper so the drill wouldn’t slip. I’m not sure what to call the tool I used, but it worked great — pictured to the left. I also used it to puncture a whole in the leather.
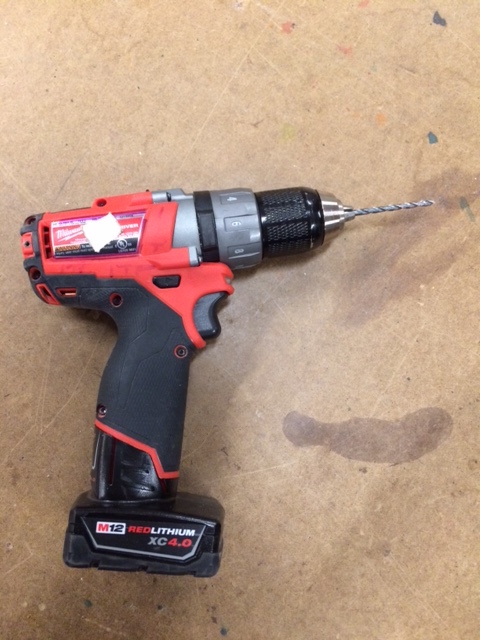
Once I had the little divot in the copper, drilling the hole was easy. Originally I thought I’d use the drill press, but the copper was so thin and since I did the test runs with a hand drill so easily, I continued with the same drill for the real holes.
The drill bit was slightly larger than the rivets so they would easily fit through. I did not drill the hole through the leather. That I only pricked, but to make the riveting process easier, I made a sandwich with the copper and two pieces of leather and pushed through the rivet before I even cocked the rivet gun. Then I cocked it and made sure my rivet sandwich was still ready to go carefully before I did the final part for real.
A friend in the shop suggested it to me. On the early tests, I found the rivet gun a bit hard to control precisely. And I also needed to use the rivet to push the whole wide enough in the leather to insure the rivet would go through. This led to a pretty good result.
I continued this process until I had all four holes done and rivets placed.
The final part would be adding the snaps. Unfortunately the snap tool in the soft lab was not good for the snaps I purchased. I will eventually stop by The Mill to use our snap tool there or order one myself since it is something I find I use a lot. On a side note, snaps make a great connection device for circuits! But that’s another story. To give a better feel for what the bracelet looks like on, I tried it on sin snaps for now.


I actually like it, but I do want to find smaller rivets when I make a new iteration one of these days!