
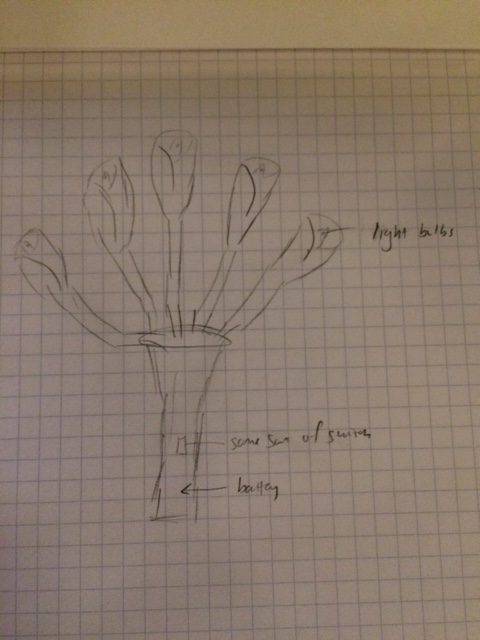
Since I made a cute little key light last year in physical computing, I felt a traditional flashlight was a little too close to my previous work so I wanted to go in a different direction. Let’s imagine the idea of a “flashlight” to be loosely defined as a light that could be carried in your hand. This idea for whatever reason came into my mind quickly and I was interested enough to carry it out. I wanted to make a bouquet of flowers with paper petals and LED centers. The wires would compose the stems, the button would preferably be a flex style button and the battery would be housed in the base. Here’s a first drawing:
Before digging into the nitty gritty, I wanted to find my potential lights and a good battery source. I went to Tinkersphere and found these lovely LED lights. They were rated the same as the typical LEDs for my breadboard so I felt the nine volt battery I already had would be sufficient. None of the switches there looked appropriate for the few designs I was thinking about so I thought maybe I would make one myself in the soft lab, but that was a decision that could be made later.
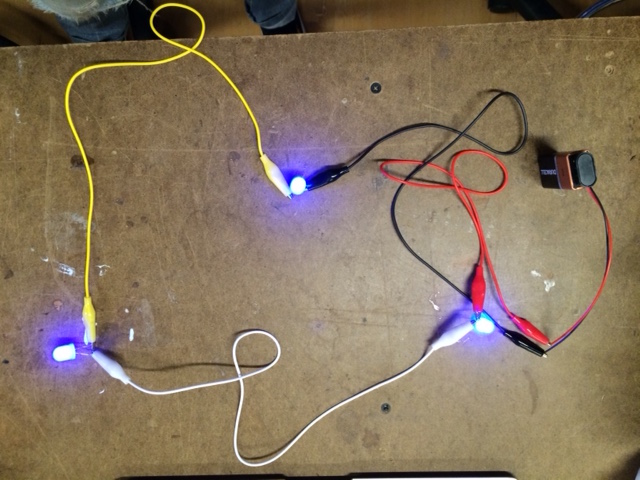
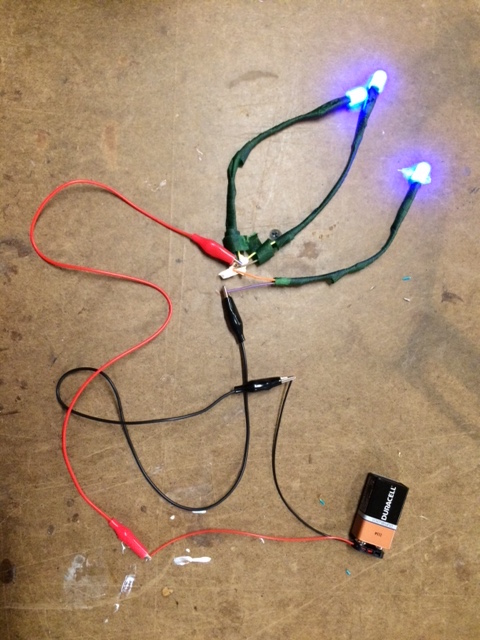
I expected with the 9 volt battery to need to use resistors, but I was shocked to learn even without resisters, it could only power three of the bulbs! Instead of going for a larger power source or putting them in parallel — I knew for the stem design, I wanted to keep them in series — the design would shift to three flowers. I also spoke to a friend, Poy, who makes paper flowers. She loaned me an instructional book that really opened my eyes to the world of paper flower manufacturing!
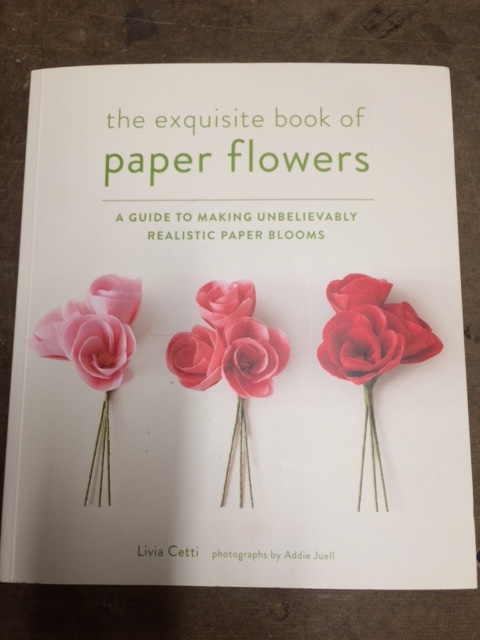
There were many exquisite designs in there, but I wanted mine to be simple. In my mind, the final look would be minimalist in style, but I did learn a few interesting construction methods used for paper flower design. It lead to a trip to Michael’s to purchase floral tape and construction paper.
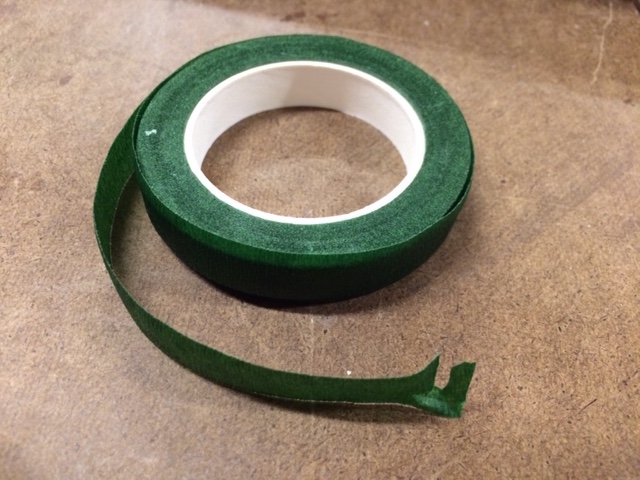
This is floral tape. I had never heard of it before I undertook this project, but it really is quite cool. It helped make my wires look much more plant like than taping and painting them.
I also like to continuously check all of my connections as I solder each part so I slowly went through the process — solder, plug back in the power source and then recheck that the connections were all worked, one at a time.
All of my soldering was good! But I still could not find a switch I liked. I tried copper tape from the soft lab and considered sewing my own switch, but Ben Light came to my rescue — and a gift from the gods. I happen to run it by him. I wanted the switch to work when you squeezed the bouquet. Just as he began to tell me about a limit switch, Dhruv showed up with a bag of switches he found in the shop that included exactly that!
In my over enthusiasm for the new switch, I built it in before taking a picture so I found this one online. The limit switch below is almost identical to the one I used.

The power goes into the the beginning of the circuit and the ground from the light series and the ground from the battery both go into the switch. When the bar is squeezed, the circuit completes and the flowers light up. I soldered this together and since I knew the base would be covered with paper and either a base or a vase, I used good ole tape to hold it together. And I also considered a few different options for the base.
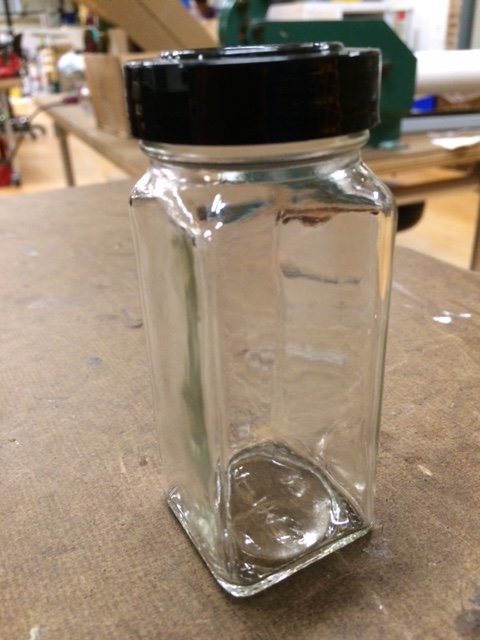
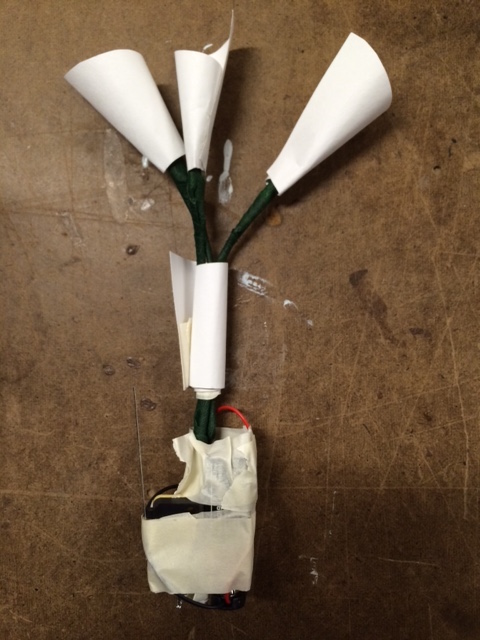
On the left is an empty spice bottle. The top was not quite wide enough for the battery and the switch — even if I reconstructed it, the switch would be permanently on. I also tried a glass that would work well as a vase, but I really wanted it to be squeezable like a bouquet and I wanted the base to match the design of the flowers. It would need to be paper, but the battery and switch are too heavy for that. Then genius struck! I can use the cap to the spice jar as the base and use paper as the “walls” that would be squeezable. Finally the vision I had for the flowers came together.
Here is a video of the final version: