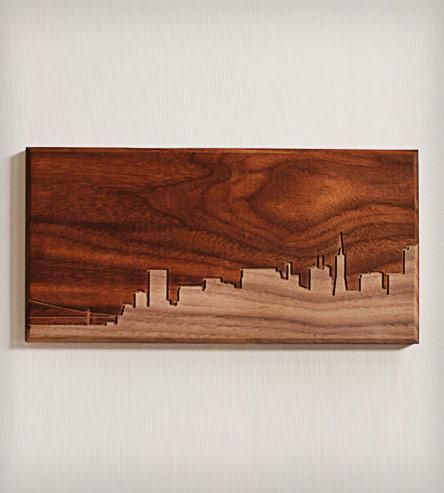
I was determined to conquer my fear of the saw this week. The assignment was making multiples and this seemed like the perfect one for wood-working. My first thought was to make a series of wooden coasters and use the router to make a repeatable design. I love the look of wood when the top later is stained and then part carved out with the router or the CNC reveals a different shade of wood. I met with Ben on Friday and he thought that was a doable concept so we set a time for him to show me the router on Tuesday.
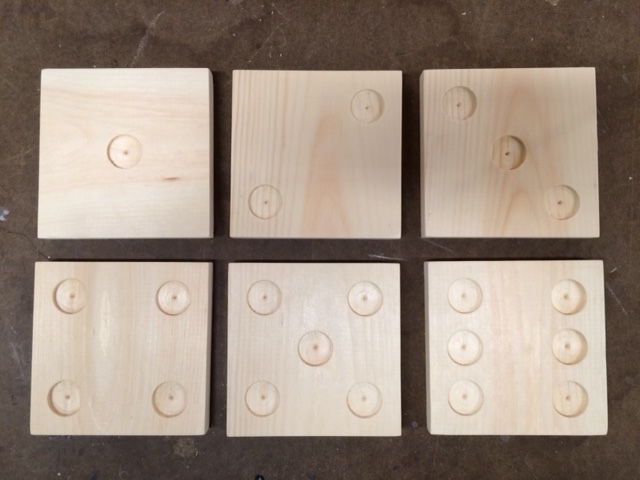
After spending more than expected on my last project, I was determined to use “found” parts in the shop and not going on a spending spree. I did find a useable piece of wood, but it was pine and wouldn’t lend itself to as glorious an image as I had in my head. Since pine is such a blond wood, it made me think of the faces of dice. What if I routed out the dots on each face? The wood I found measured 5.5″ wide and was easily long enough to make six squares with almost double that amount to spare.
The point of the assignment was multiples which often involves stencils or jigs. This made me think of a good process for the different options for dice faces.
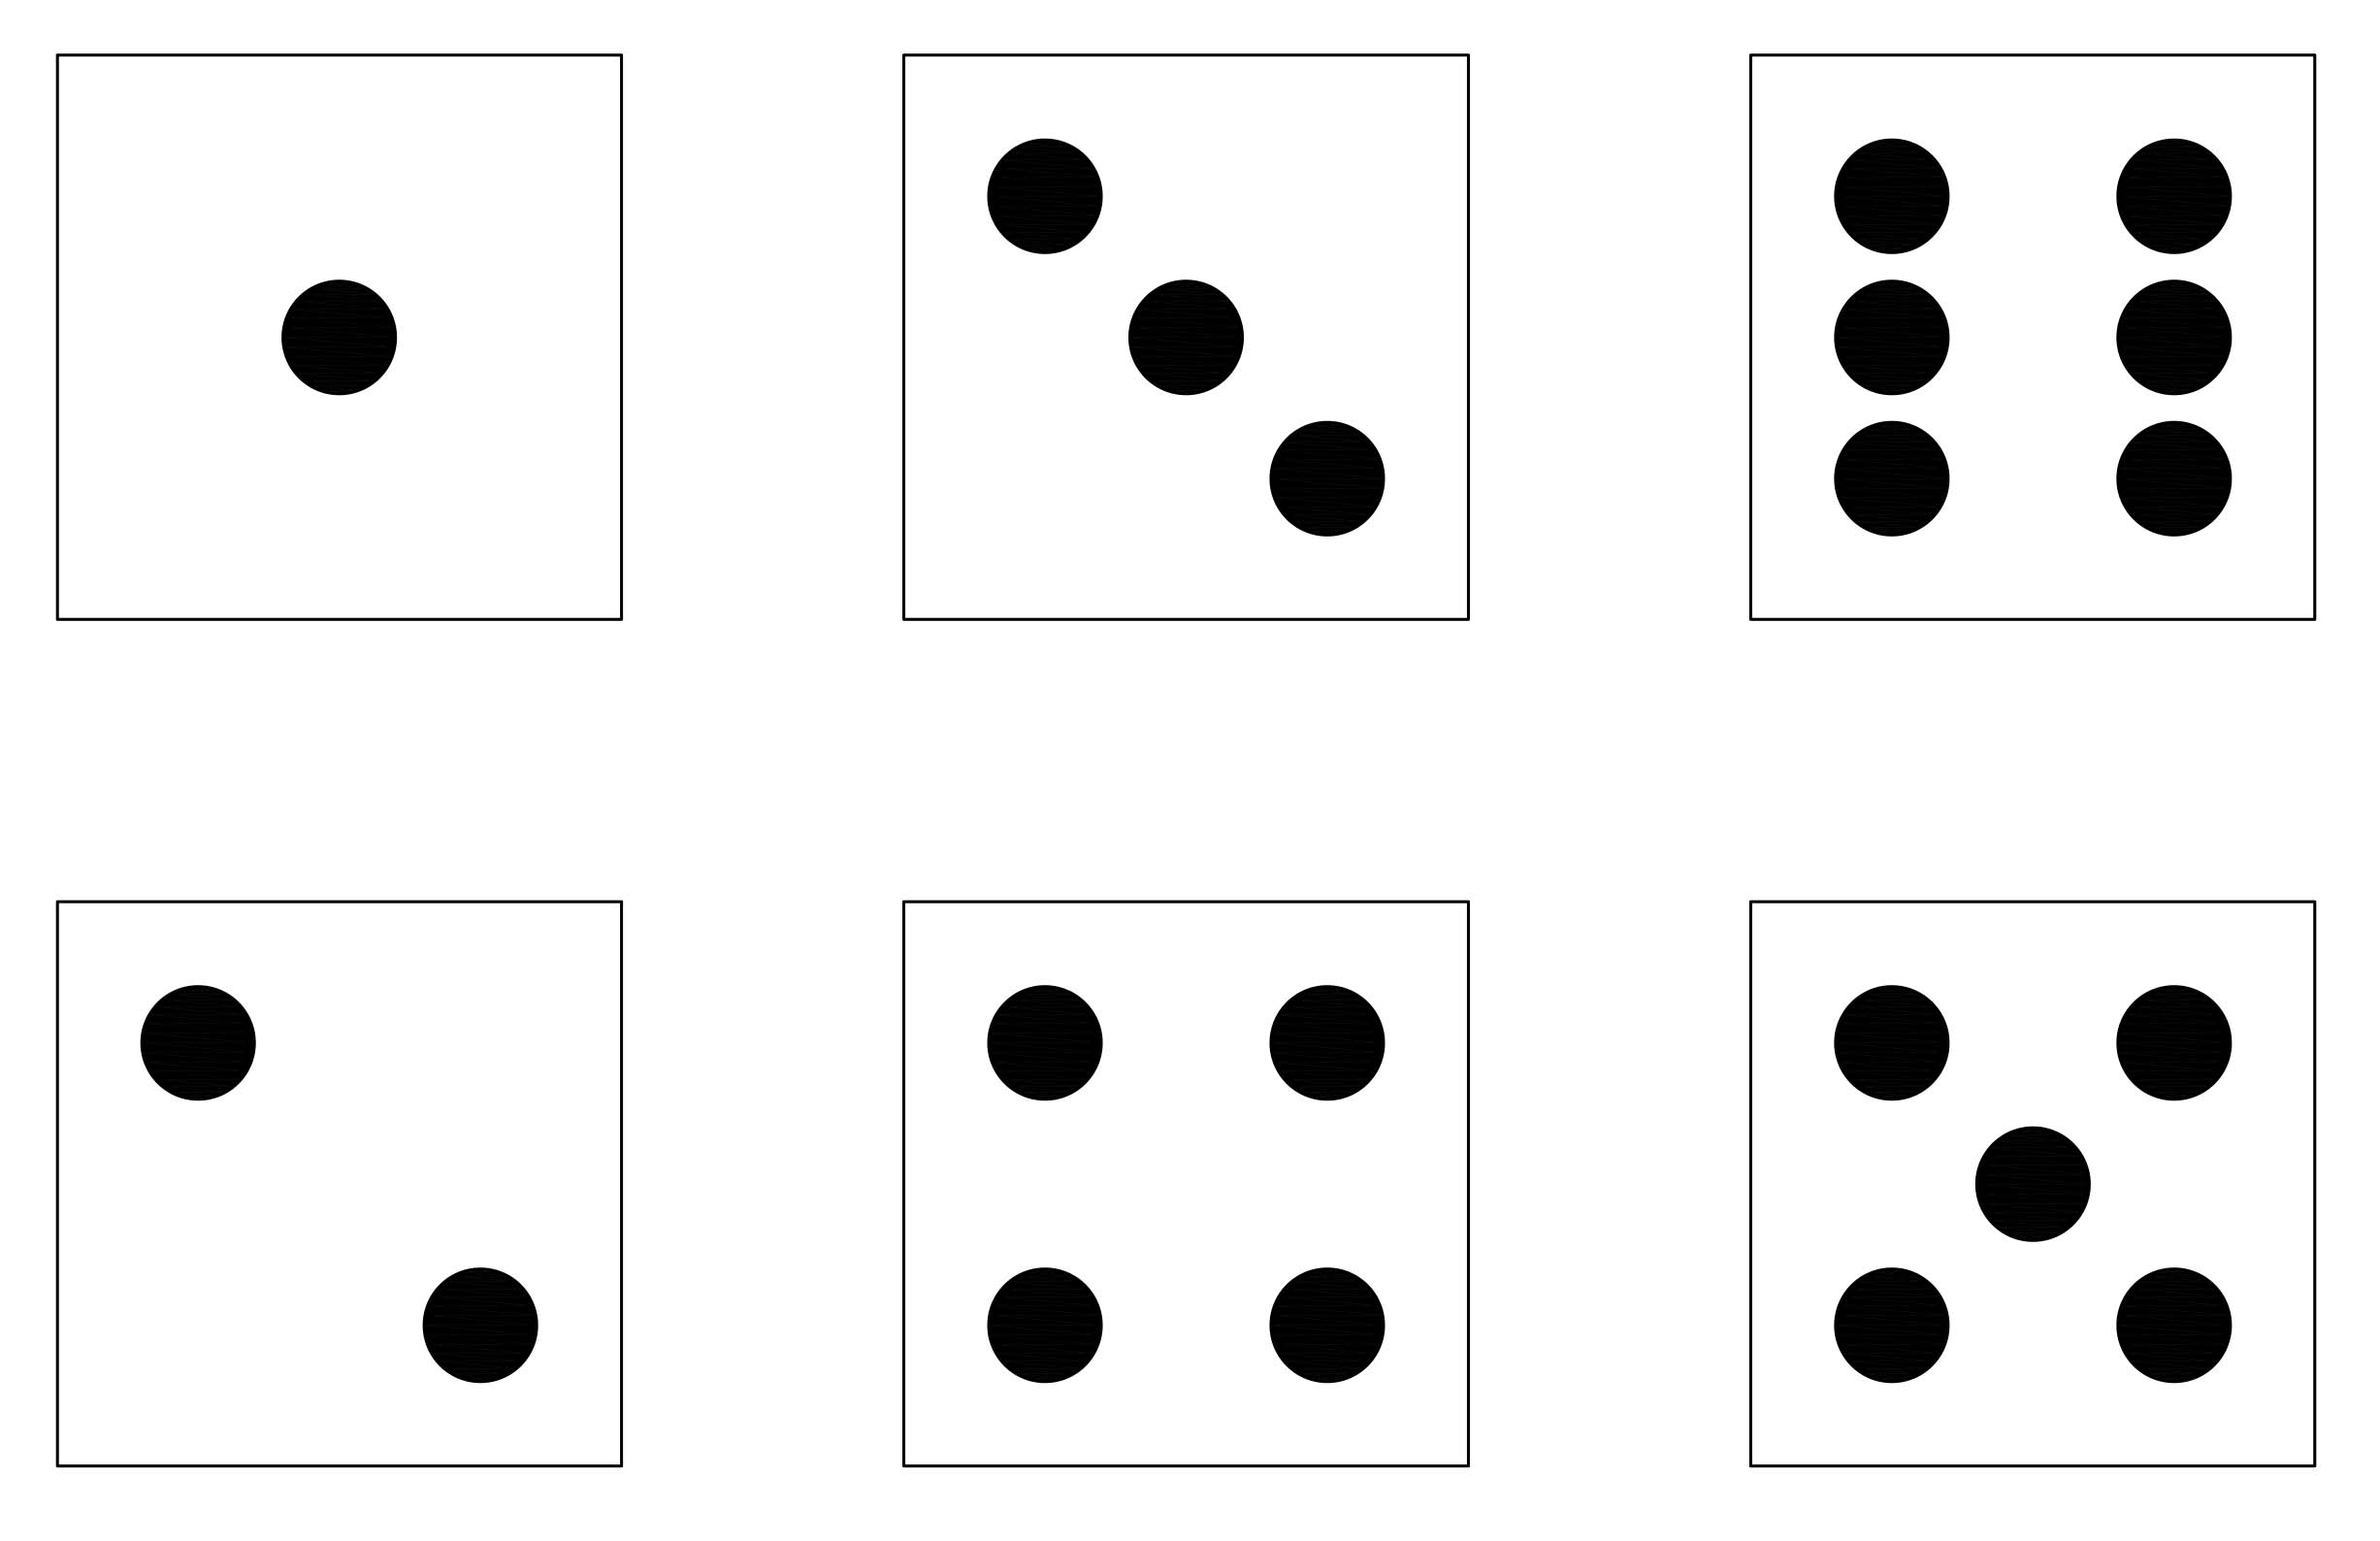
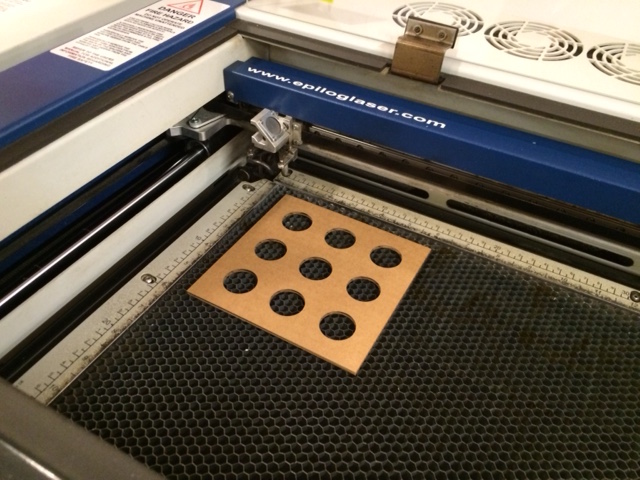
I quickly made an illustrator design for all of the possible “dot” position that I could use on the laser cutter to make a stencil.
Then I met with Ben a second time in theory to learn how to use the router. He warned me that if I wanted to use the stencil I had made, I would need to use acrylic. This would break my rule of no “out of pocket” costs for this assignment, BUT he said there was another way. He was willing to loan me two crucial tools of his own for the task. He loaned me a one inch Forstner bit — the exact size I was planning for the dots AND he loaned me a right angle to help me set it up.
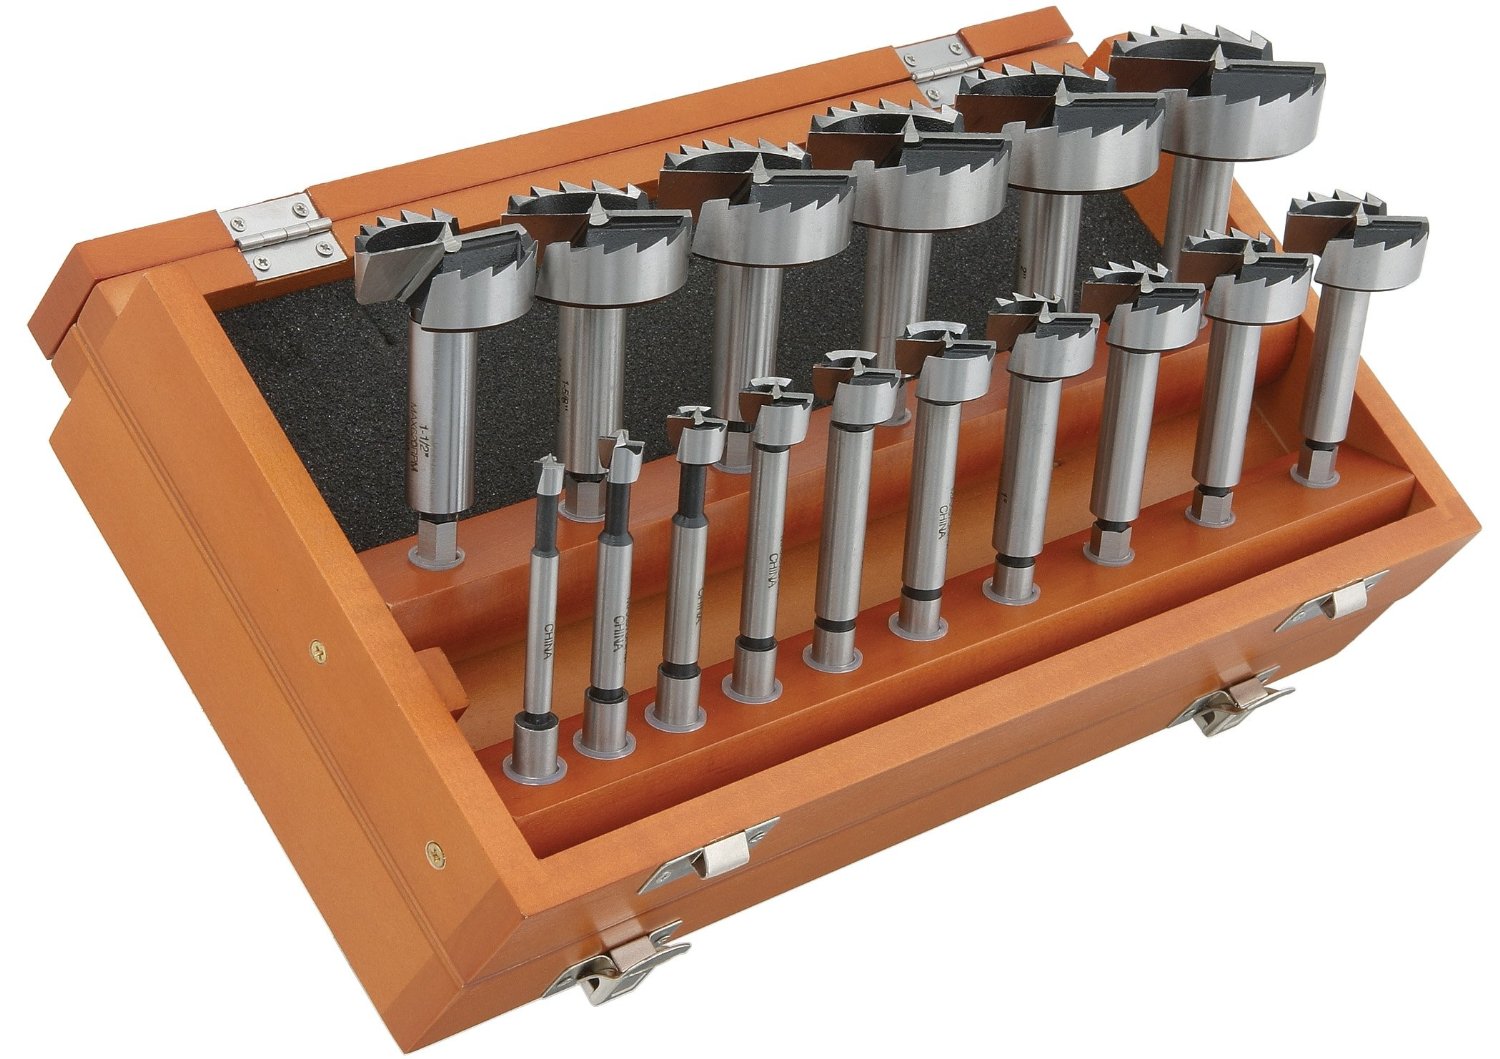
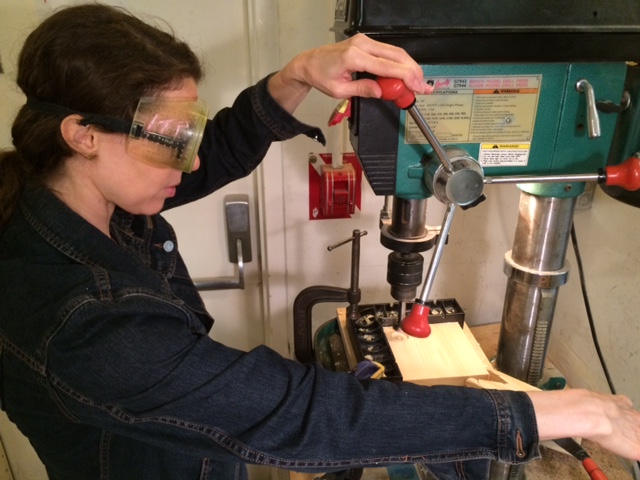
Although I was dying to get to know the router, it turns out a couple of crucial tools and the drill press were the best for the task (images of the set up will follow).
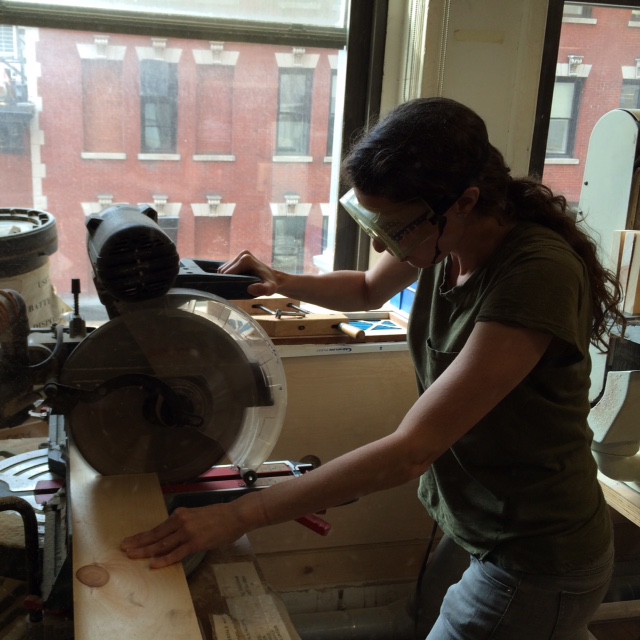
BUT first I had to cut the squares and that required the miter saw. This was my biggest fear factor in the process so Ben kindly walked me through it and helped me get started. Turned out instead of experiencing pure terror, I rather enjoyed it!
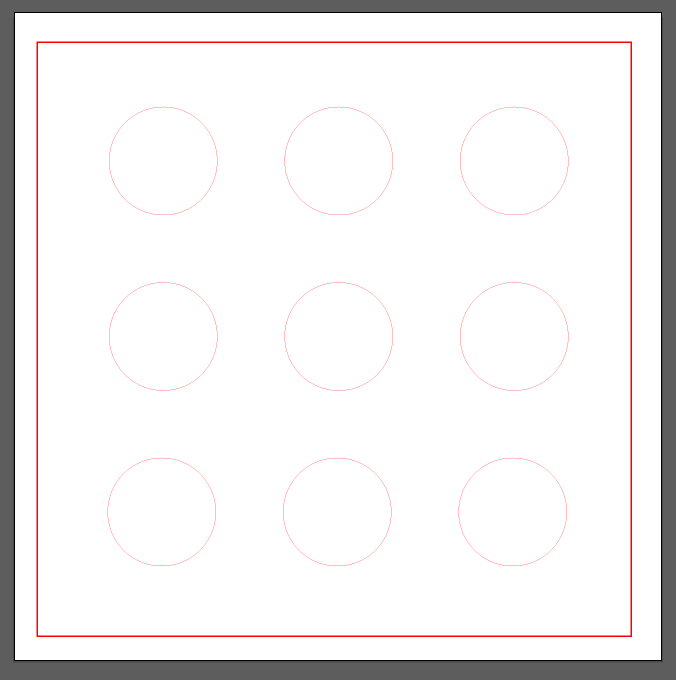
Once I had four evenly spaced squares of wood, I needed to make my “stencil”. I would not drill through the stencil, but it would help me align the drill press.
Then I moved on to the drill press.
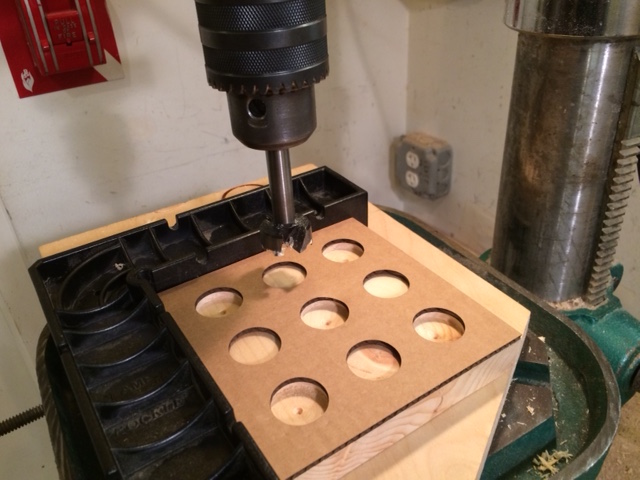
If you look closely, you can tell I did not do this one first, but this is the process I did for each position of the dots. I first did the outer corners for each wooden piece that needed corners. Then I moved on to the center holes. And finally I did the center/side holes for the “6” block. I had chosen my favorite six bits of pine squares, but I had a few to spare with nots and other imperfections. Before I drilled any of the “desired” wooden blocks, I tested it on one of the spare blocks.
As you can see, I picked the one with the large dark knot! But it saved the better blocks from mistakes. Here’s the full set up for each “dot”:
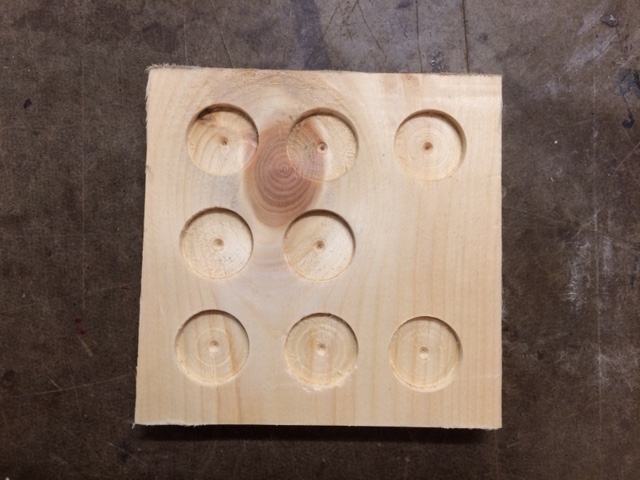
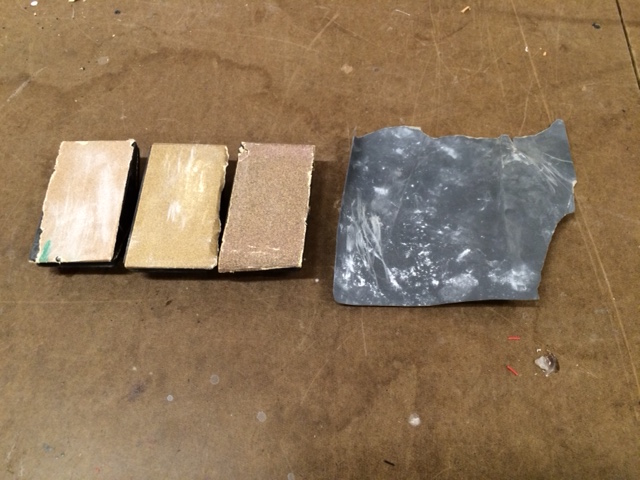
Then once I had my dots all carved out, I needed to make the wood pretty — or at the very least as presentable as my piece of pine would become for the project. This required sanding. I considered the process a little like “Goldilocks and the Three Bears.” I tried a few different rougher sanders to find the right one to smooth out the edges and then the fine piece of sand paper for the final once over.
And this got me to my final product!
Now I can’t help but ponder whether I should move onto the router or some other method to give each of the edges 45 degree angles and complete the cube? My wood is definitely not straight, but maybe? Something to think about…