Description
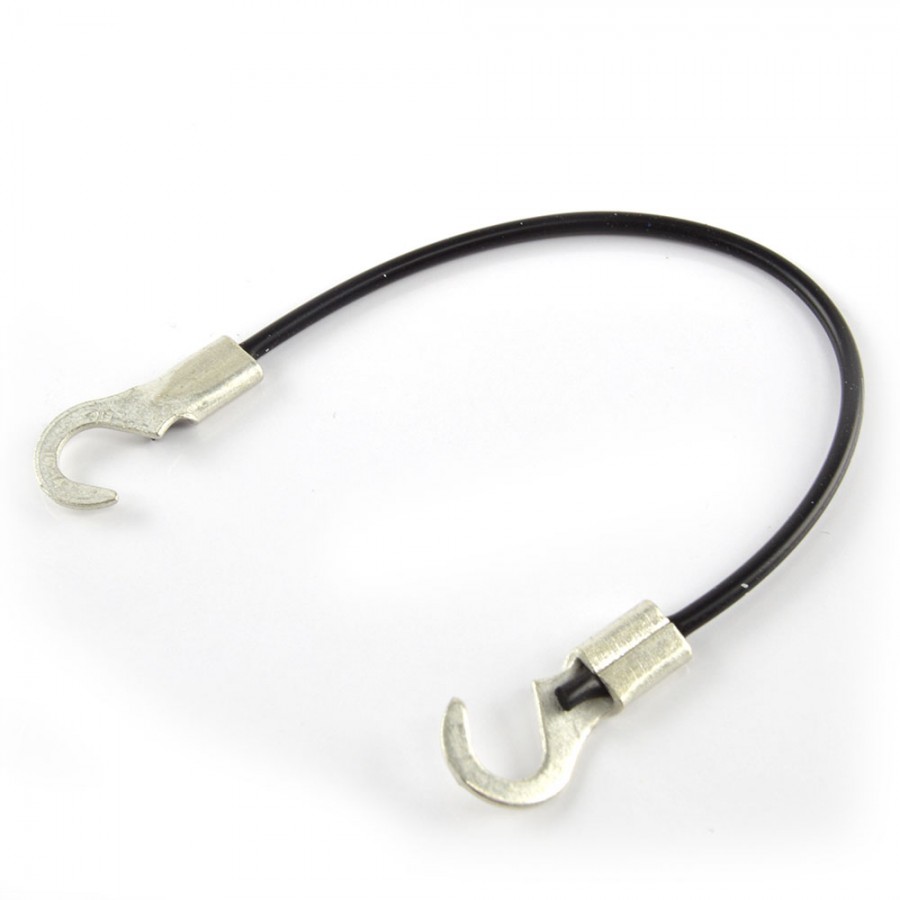
The stretch sensor is a polymer component that changes resistance when stretched. It is an analog variable resistant component that can be wired similarly to a potentiometer, but offers a very different interaction. The user stretches the rubberband-like component instead of turning a knob. The stretch sensor in the photograph on the left is courtesy of Adafruit. Robotshop offers a nearly identical version as well as a different design with hooks instead of alligator clips.

Data Sheet
Adafruit does not offer a datasheet for their component, but Robotshop does offer a pretty comprehensive pdf.
According to Robotshop, “An unstretched sensor has a nominal resistance of 1000 ohms per linear inch. As the stretch sensor is stretched the resistance gradually increases. When the sensor is stretched 50 % its resistance will approximately double to 2.0 K-ohms per inch.”
Here is a helpful graph from the datasheet of the resistance over time as the sensor is used:

Description of example uses
I used the Adafruit stretch sensor to build a prototype breathing sensor from scratch. At a job, I was working with the sensor aspect of a biometric feedback VR experience. We had numerous sensors that all gave biofeedback through the Arduino and a proprietary health shield — some of the sensors were built to work specifically with this shield. All of the feedback from the sensors and microcontroller were fed through Touch Designer into Unreal Engine.
The breathing sensor needed to fit many different sized users and be comfortable to wear. I used a stretchy material underneath the sensor to reinforce it — the rubber itself is not very durable — and sewed it to straps similar to the adjustable waist strap on a backpack. The sensor itself I attached with a snap and snap tool. Then the wires were medical wires with snap caps at the ends that completed the circuit by snapping into the sensor. It worked and I was able to fit the prototype snuggly on all users no matter the body type. My one caveat is the sensor is very noisy and takes a bit of trouble shooting in code to smooth out the data.
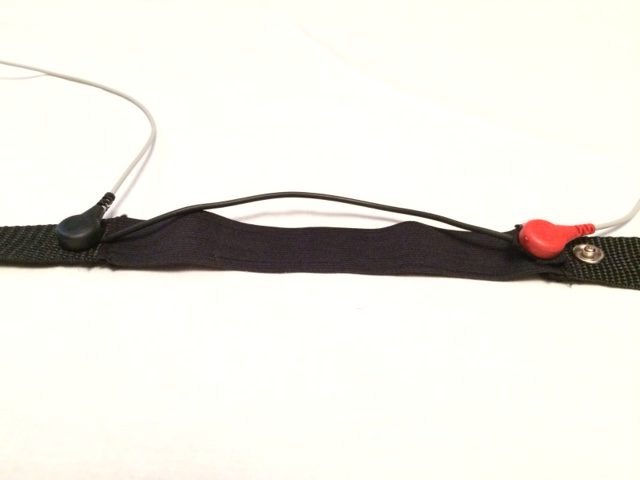
 Photographs above courtesy of Jamie Ruddy and The Mill.
This sensor can also be used to monitor or duplicate the movement of our muscles as we flex. There are studies online using it for both medical and athletic reasons to track the movement of muscles. Here is a sensor glove from the research page on the Discover Sensors website. The glove is coated with flexible sensors on the fingers and thumb to monitor the muscles during stroke rehabilitation.
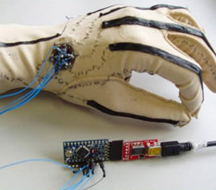
From this application it is easy to imagine the uses in VR gloves where hand movements need to be duplicated. It would also be helpful in robotics research where developers struggle to duplicate human dexterity.
A big growing market for this type of sensor is in high end wearable technology. There are companies like Eeonyx who are creating materials with the sensors already built into the material itself. Similarly, Stretch Sense advertises on their site, “We are the leading supplier of smart stretch sensors for the rapidly emerging wearable technology market.” Stretch Sense includes motion smart clothes, hand motion capture and compression sensing for shoes among their applications with a price tag of $2950.
Strengths and Weaknesses
This sensor covers a type of use and movement that is vastly different than any other sensor I have come across. With its elasticity, flexibility and its softness (durometer measurement) it works well in growing fields like soft robotics and wearable technology where soft parts are desperately needed.
On the weakness side, I must say I tried my initial testing for my project with an old Adafruit sensor that had never been used and it no longer changed resistance when stretched. Even when I purchased a brand new sensor, the material is a bit weak. It can break and crumble. It needed a lot of reinforcement from the surrounding materials to be durable enough to use. This would be easily solved by having it built into the material, but as explained above it changes from a $10 part to a $3000 investment.
Example Circuit Schematic
The actual circuit is super easy. The stretch sensor wires up similarly to an FSR. Using an Arduino Uno, connect one end of the sensor to power and the other, through a pull down resistor, connects to ground. All it needs is a wire to an analog read between the sensor and the resistor. There is one thing I have found and confirmed through the Adafruit website — to get the cleanest read, the sensor works best on 3.3V along with the AREF pin.


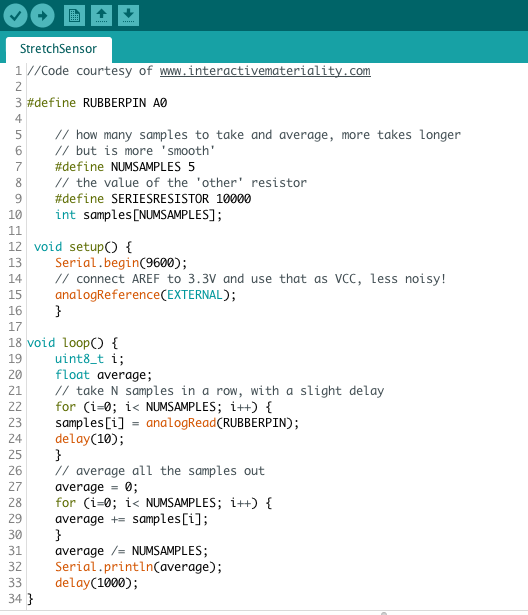
Example Microcontroller Code
Since the sensor is noisy, this example code averages the readings to try to smooth them out — code courtesy of Interactive Materiality.
Citations
The data sheet was supplied by Robotshop. All circuit drawings were made with Fritzing. The images of the sensor come from Adafruit and Robotshop. And the code example is from Interactive Materiality. My personal experience was working on the first prototype for the VR experience Strata at The Mill.