Good news!!! Since my last post, I did in fact solve the final iOS developer hiccup. With the help of Shawn Van Avery, I found the last little box to check to make the Xcode launch apps onto my phone. There was a little box that needed to be switched once more from JamieRuddy to NewYorkUniversity. However, once it was flipped, a whole new slew of errors came up. I didn’t have time to troubleshoot the coding in Unity so we simply tested to make sure my developer status was set. To do this, I deleted the empty test app off my phone and reloaded it through Xcode. The app worked so it’s clear I am fully enabled as an iOS developer. Yay me!!! However, there is more trouble shooting to be had with the game.
I decided it might have been an error in my coding during the game build since I couldn’t test it while I was building. I started the tutorial anew, but when I was able to load the app early on in the tutorial, I got the same error:
linker command failed with exit code 1 (use -v to see invocation)
Instead of starting over from scratch, I went back to the original file because I knew the error was not in my code, but rather in launching the unity program with the Google Cardboard SDK onto my phone. I searched the error online and only a few items came up. None of the solutions helped. So I checked the Google Developer’s newest information online.
According to Google Developers, my settings within Unity were perfect, but there were other steps to do in Xcode. This was very exciting since I hadn’t tried these settings!
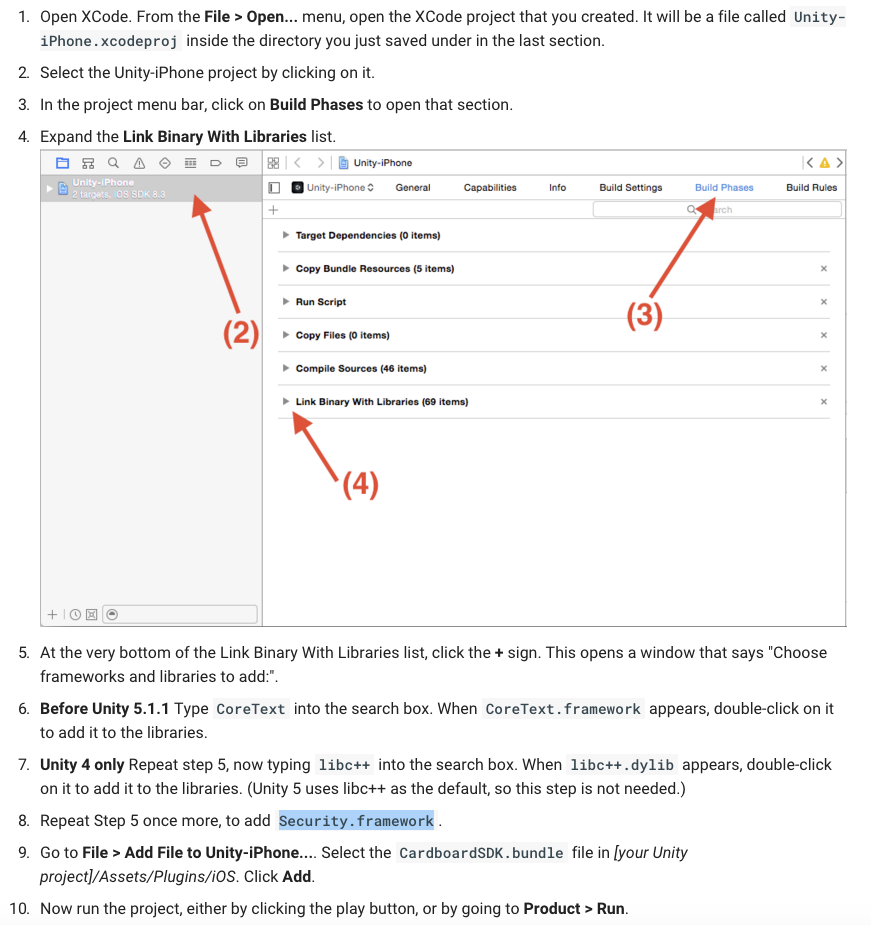
Unfortunately after following the steps, I received exactly the same error! After rechecking each step, I found the bitcode setting went back to enabled: yes. I guess “yes” is the default setting. So after switching it back to “no”, I tried one last time and it worked! Getting an app onto my phone has never been so exciting.
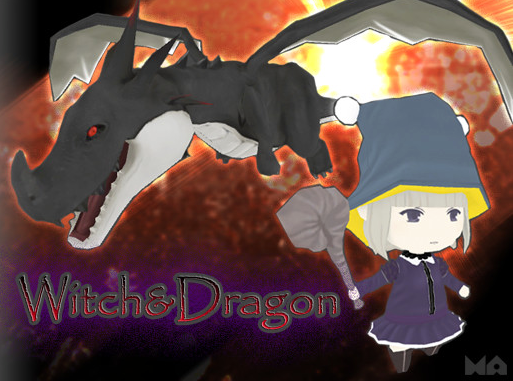
The next step was deconstructing and reconstructing the game. I considered trading out the bad guys for another 3D model with slightly different animations and stumbled upon this adorable witch and dragon option at the Unity Asset Store under free. Why not?
It was very interesting to import the assets and deconstruct the game and the code to see if I could replace the original slimy enemy. Turns out all of the animations were controlled in code. And some scripts like the NinjaStarController referred to objects tagged as “enemy”. So I knew the witch needed the “enemy” tag instead.

The slimy enemy was also a prefab that was referenced in the code.
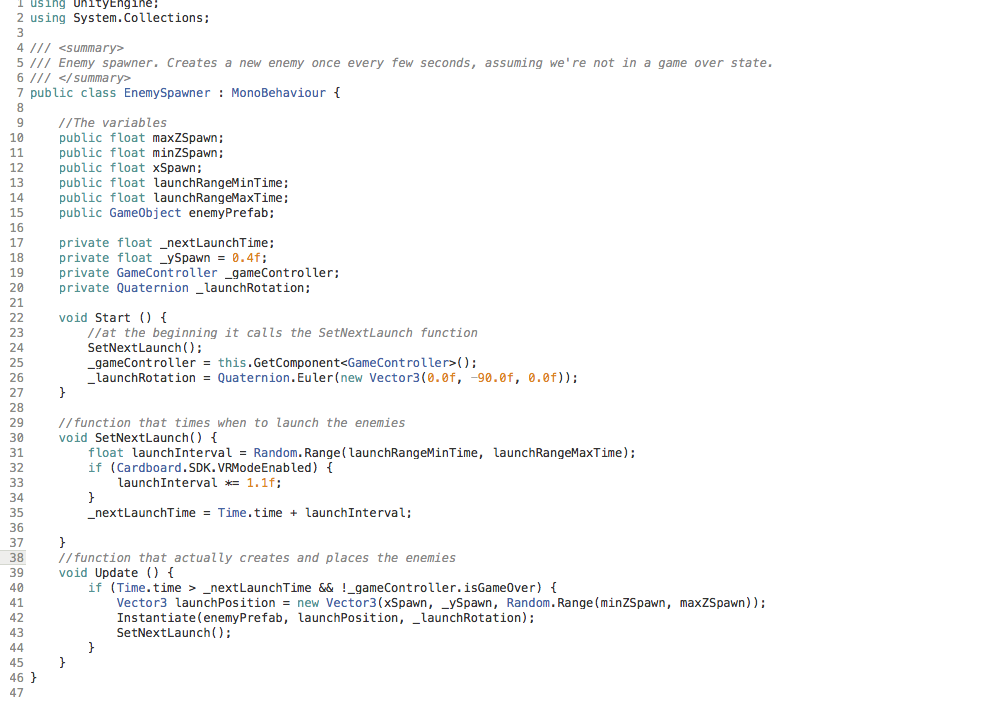
The first order of business was to build the witch into a prefab with the tag enemy. And untag the slimy enemy so she would be the game object referenced instead. Since the Enemy Spawner script referenced the slimy enemy prefab, the witch prefab needed to be replace the evil slime in the script window of the game logic object.
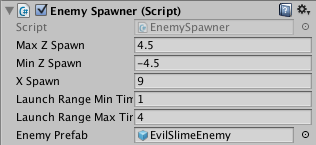
As I combed through the scripts connected to the enemy — in the Enemy Spawner script and in the Enemy Mover script — there was not too much to be altered. In the Enemy Spawner script I had to trade all references to his prefab and replace it with the new witch prefab. In the Enemy Mover script, the animation states had different titles than the witch’s prebuilt animations. Instead of normal and dying, hers were attacking and dead. I traded these out and she functioned just like the Evil Slime Enemy.
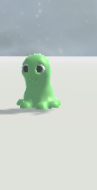
BUT not all models are created equally and her animations did not fit the game play as well as the adorable slime enemy! He slides so perfectly across the ice. I supposed I could have really gotten deep in the coding to try to make her animations work better with the game, but there were other things I wanted to play with and I had become a little too attached to the slime creatures. Look at them! How could you not?
So I moved onto skyboxes. The game used the built in skybox and looked rather boring so I was determined to play with ways to change this. First, I decided to research how to build a skybox from scratch. See the image below as an example.
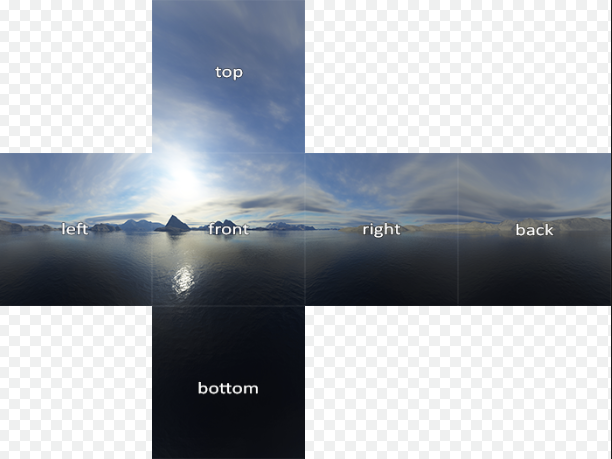
That looked simple enough so I duplicated the process in Photoshop with the image below:

But I did not like the look of it in unity. Part of is was my divisions were not as perfect as I thought they were. And the image did not look as good as anticipated in the world of the game. Instead of playing with making different skyboxes from scratch — the process is a bit tedious — I downloaded a free skybox set from the asset store and tried out a few other options. In order to add or change a skybox, you just go into the window tab, open the lighting window and replace the skybox under environmental lighting with the skybox of your choice.

Within my options, I picked the one that might work the best with snow. Since I enjoyed playing with particle systems for an earlier project and technically this project already had snow on the ground, I decided to try to make snow fall from the sky. I found a great little tutorial by Xenosmash games so I decided to try it out.
The first step was to import a particle system package because we’re going to need a snow material in there to create the look of snowflakes. It turns out that snow is a legacy particle system. The current package has no snowflake material. I decided to try a tutorial to make one. I followed the directions and imported this image into Unity.

The article claims when it turns into a shader/material, it will be round. Before I made attempts to drop out the background in photoshop, I did a quick test run, but when I used the image in the particle system it came out a square! That is not supposed to happen — even if I did not drop the background image, it should have been a sphere. Was it something I did wrong? I tried the other shaders already preloaded into the particle system as a test and about a third of them were now squares. I assume there’s some sort of glitch since the last large unity update.
After a lot of Googling, for some reason I could not find the original legacy snowflake shader. BUT I did find a snow particle system I could download for $1.95 so I went for it. This one worked, but it is in its own scene so I need to rebuild it in my game scene. It’s a good way to learn more about it anyway. Here’s what it looks like on it’s own.

Although the ground is flatter than the snow pack base of my game, it is far more appealing visually so it inspired me to change that element as well. I ended up recreating most of the snow scene for my game including replacing my new skybox with this gray one. The scene looks much better! The simple game now has a more polished look to it.
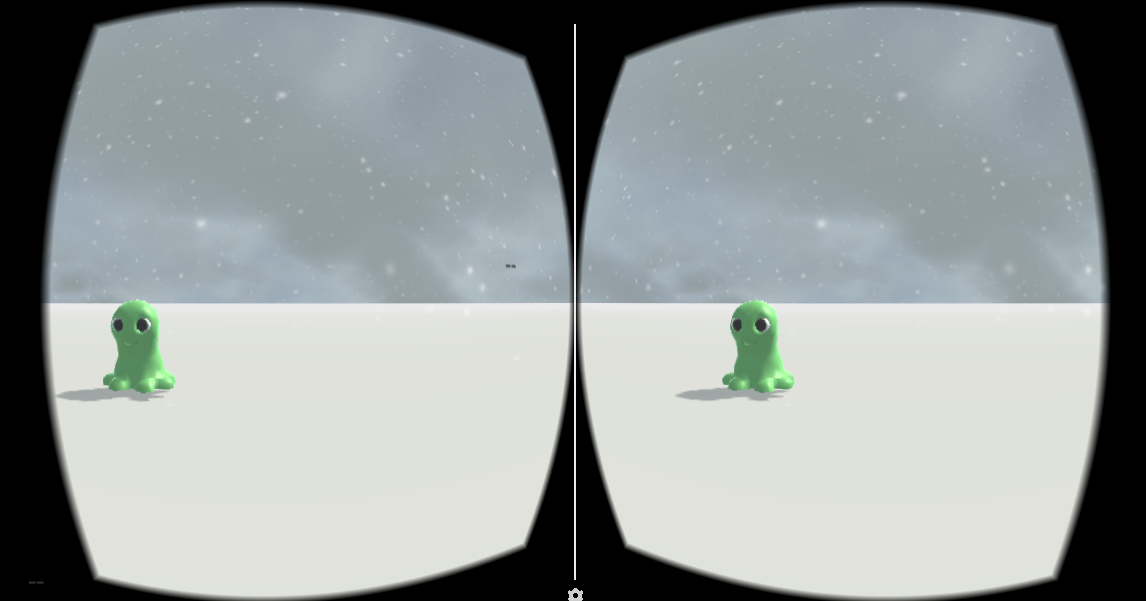
Then came the final test… Exporting it to my phone. After struggling with Xcode and iOS for over a week, I had gotten good at it. The app went onto my phone easy breezy! And more importantly, I had a blast playing the game. In case I was biased by the bliss of simply getting it to function on my phone with a Google Cardboard, I tested it on a handful of other players.
Turns out throwing Shurikens at little green slimy creatures is terribly amusing!