I started off learning all of the different parts in my Arduino kit. The time spent on this proved endlessly valuable for the rest of the labs.

Then I moved on to the labs. A friend happened to have a power source she soldered with a resident so for my first lab, I used her plug connected to a 12V battery and a 5 Volt regulator. My light turned on extraordinarily bright and the readings from the multimeter made me understand the voltage regulator was not doing it’s job. The LED was taking 9 volts! And the other three or so were taken by the resister. How could that be?
 It turns out I had wired the red wire into the same line as the incoming current. So although the ground was correctly connected, the red wire was getting all 12 volts! I switched the red wire to the output prong instead of the input one and suddenly I had a reasonable LED light – as well as a correct reading on the multimeter. Lesson learned.
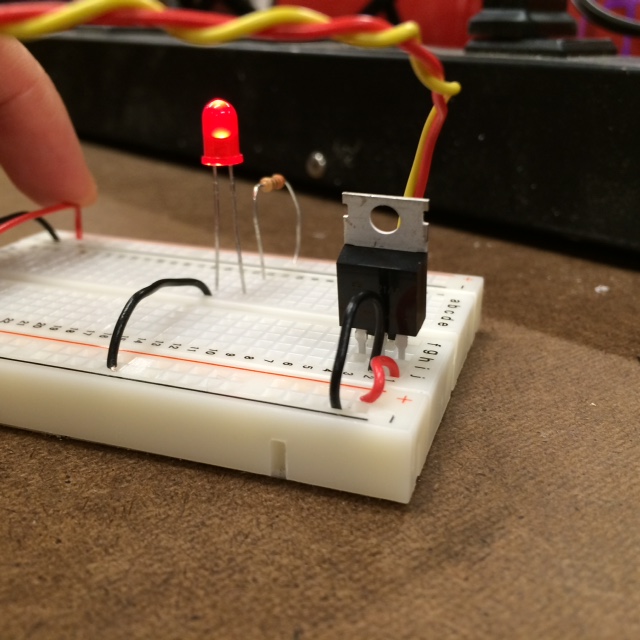
With the correct set up, suddenly my LED looked much more reasonably lit.
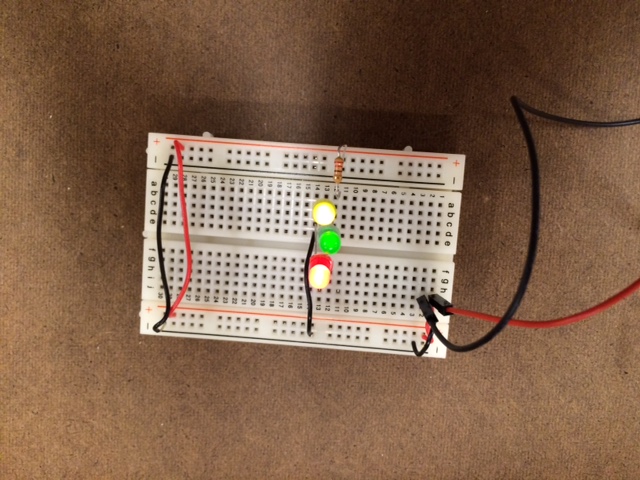
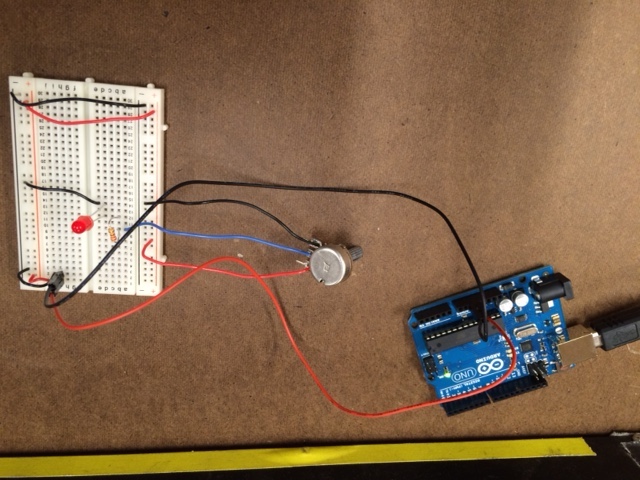
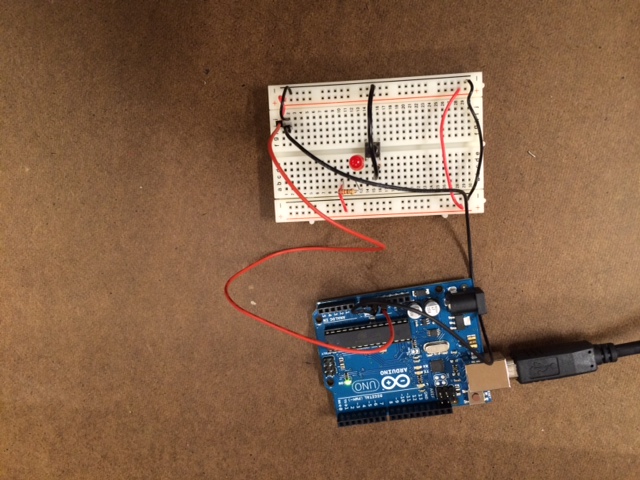
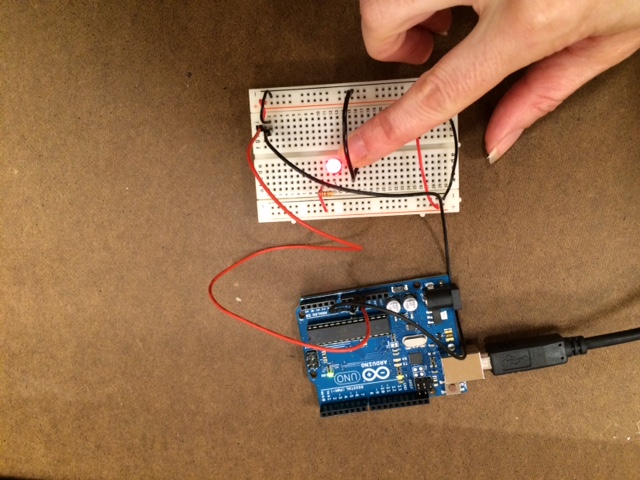
On the next set of labs, I returned the power source to my friend and used the Arduino as both power and voltage regulator. A few photos above show some of my labs from trying out LEDs in parallel to a potentiometer to a switch. The process of moving through the labs turned out to be quite fun as well as informative. And then I moved onto my ingenious project – a keychain light!
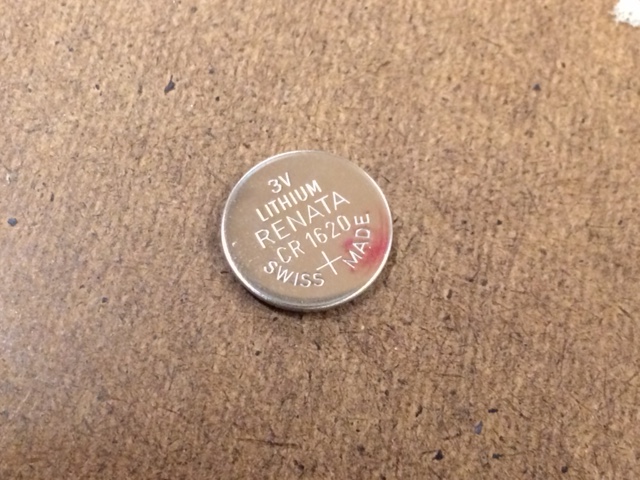
I wanted to build something simple with a switch and an LED, but I didn’t want it to involve the breadboard. And I hoped to make something that might actually be useful. Not all hallways are well lit and I’ve spent many a night fumbling to get my key into the lock. I figured a keychain light could be a convenient solution. So I set out to build it with a few simple parts… A matchbook for the housing, a circular keychain for the keys, an LED bulb, a 3 volt battery and some foam to keep the positive and negatives sides from touching.
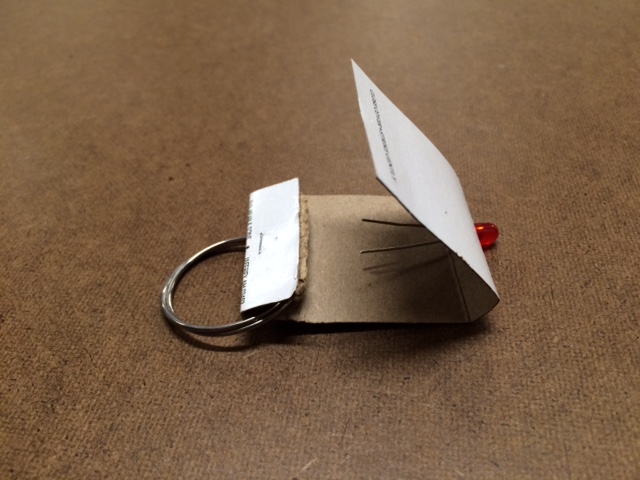

It was hardly a profound project, but I found my adorable keychain worked marvelously!
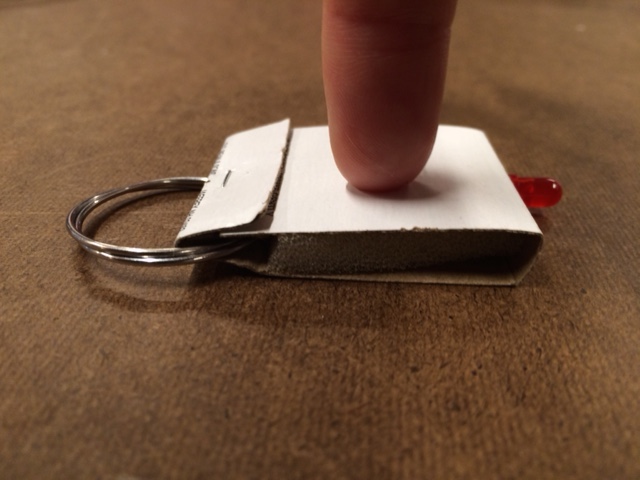

The matchbook itself functions as the button mechanism.
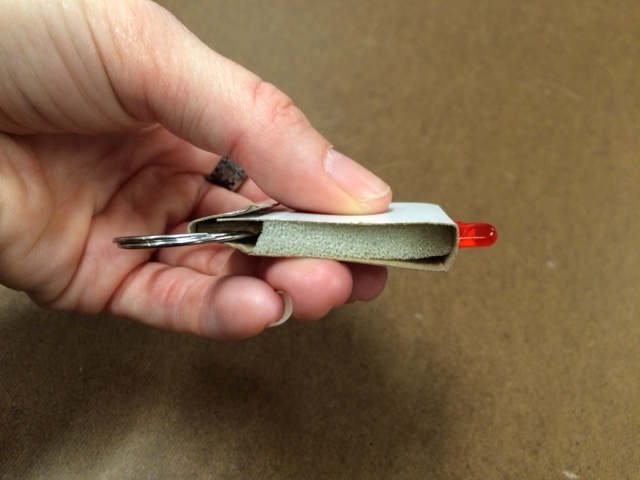
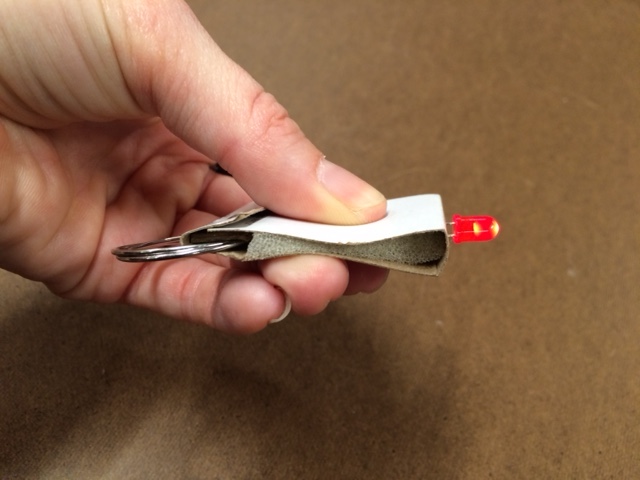
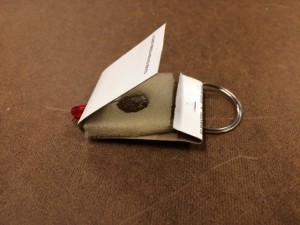
And this is how it would be used in a real world situation – only a key would attached as well. As simple as this was to build, I found it extraordinarily gratifying!